

I recently joined the Avid Baker's Challenge (a group of passionate bakers all agreeing to bake a specific recipe once a month from a chosen recipe book) and this year, the group decided to bake 12 recipes from The Weekend Baker by Abigail Johnson Dodge. I still don't have the book yet but Hanaa, the administrator of ABC, has kindly sent me the link to the first recipe for the month of January which is the Chocolate Banana Swirl Cake. I love banana cake and make it all the time (as cupcakes) but have never tried it swirled with dark chocolate and baked in a bundt pan. Needless to say, I was very excited to make this!
Thankfully, I always have overripe bananas kept in the freezer. It keeps there indefinitely so whenever I feel the need to make banana cake, I just bring them out, thaw it to room temperature, and just squish them with my fingers -- the beauty of frozen bananas is that they become so soft and mushy after thawing that there's really no need to use a masher of any sort. 14 ounces were the equivalent of 4 of my unpeeled frozen bananas.
Definitely gross eaten as is but mixed into cake batter, the wonderful flavor of bananas will even be more intense!

Mis en place...
I already mixed the dry ingredients in one container, placed the cubed butter inside the KA bowl, and mashed the bananas with my fingers. They don't sell buttermilk here so I used plain yogurt instead. This has worked well as a substitute for buttermilk in all the recipes that I've tried.

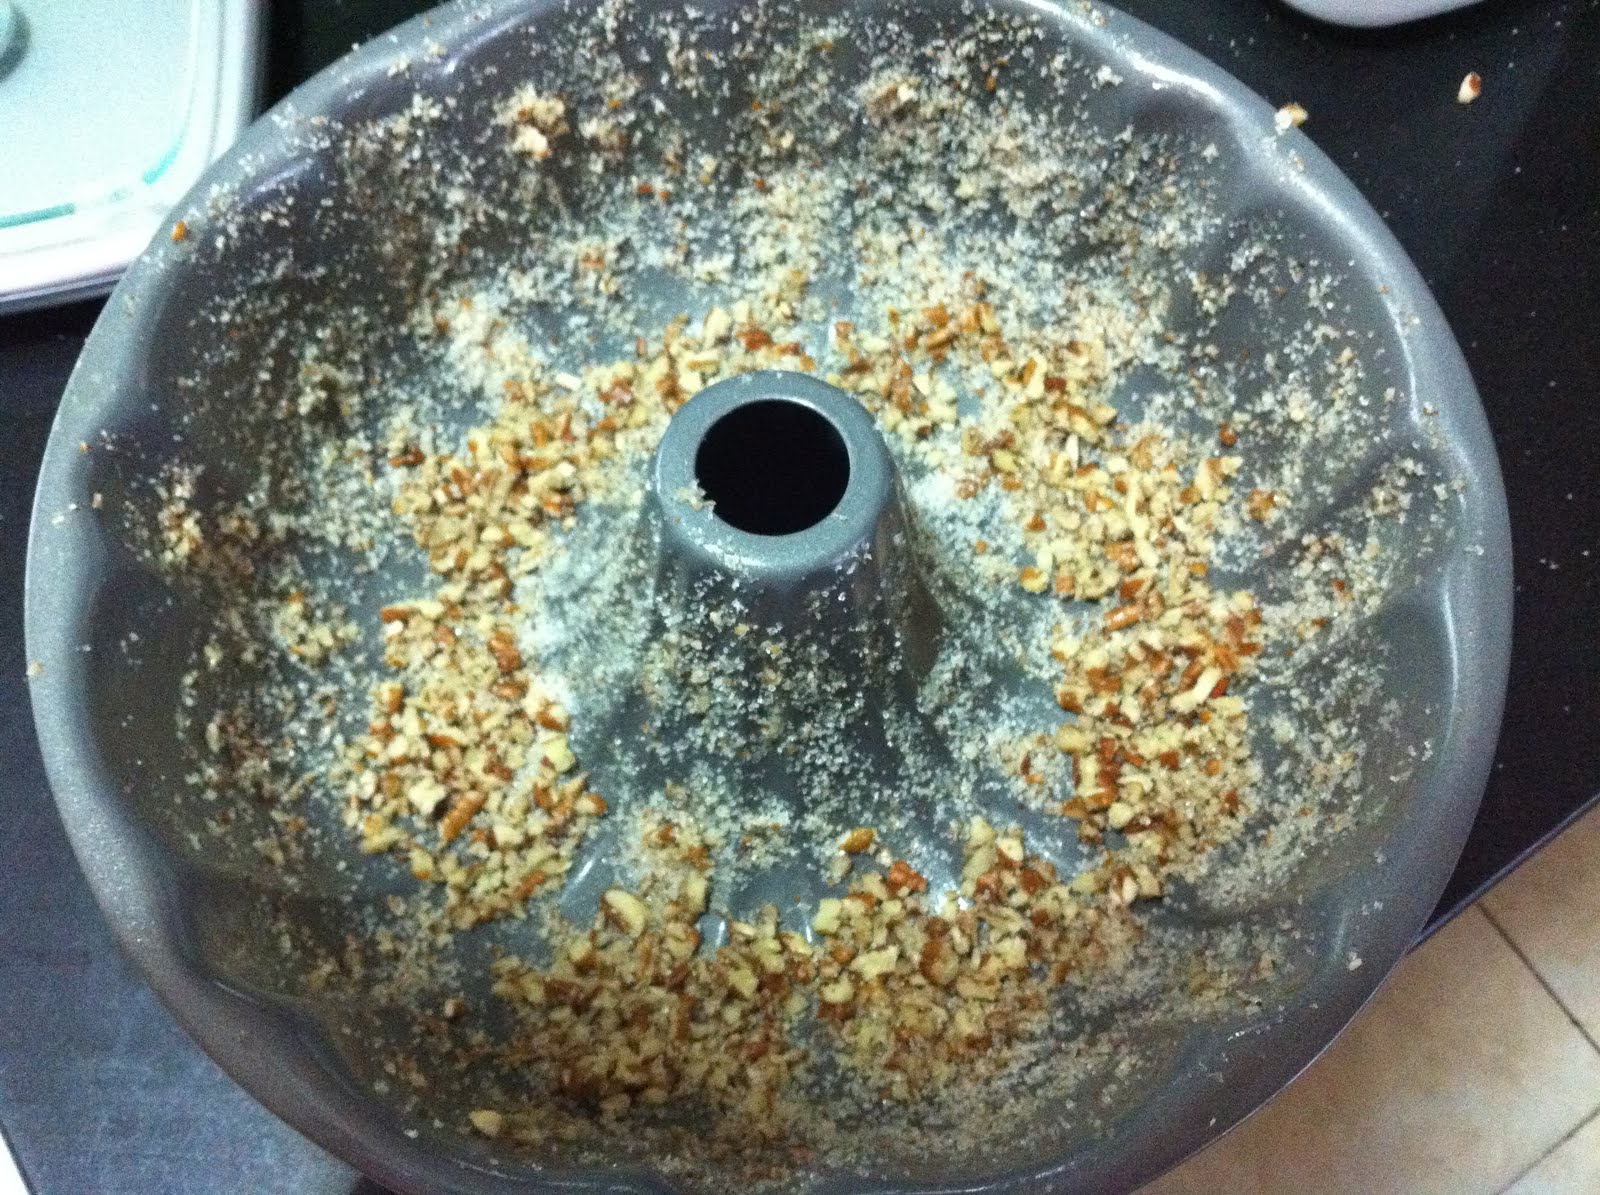
This is the Bundt pan I'm using. Generously buttered and coated with the sugar and nut mixture. I used pecans as that was what I had on hand. The pan is non-stick so I'm lowering the oven temperature by 25 degrees F to prevent over browning. The nuts also settled in the bottom probably because of the non-stick nature of the pan. A non-coated aluminum bundt pan is definitely on my list of things I need to buy this year!

Placed all the sugar, mashed bananas and vanilla inside the KA bowl and started creaming...
Started off like this with chunks of butter and bananas...

But since everything was at room temperature, everything creamed perfectly after 10 minutes speed 4 in the KA. I must say that the smell of all of these ingredients combined and lusciously creamed in the bowl was out-of-this-world!!

Here's the batter after all the eggs were added

Now this is what I don't get though....having to fold the dry ingredients and the buttermilk/yogurt by hand. Couldn't we just incorporate everything through the KA? I still followed the recipe and mixed everything with a rubber spatula though.


The batter after the dry ingredients and yogurt gets incorporated...

Mixed half of the batter with the melted and cooled dark chocolate (which I did during the creaming process). I used Hershey's Special Dark Chocolate Chips.


I then spooned the plain and chocolate batter alternately into the prepared pan and swirled it clockwise and counter clockwise using the handle of my rubber spatula.

I baked it initially for 40 minutes as indicated in the recipe but the cake tester came out with a little wet batter clinging to it.

So I let it bake for about 9 more minutes...It looks so yummy!!


My pan was non-stick so I probably didn't have to wait 15 minutes before unmolding the cake but I still waited anyway. Might as well follow the recipe fully at this point :)
I knew I could invert it with ease once the cake started moving away from the sides of the pan...

Now the moment of truth....


Perfect!!


I couldn't resist slicing a piece for myself!!
Here are close up pics of the crumb. I think it would have been better if I swirled the batter some more to get a more marbled effect.


VERDICT: This was delicious! So moist and dense and the flavors of the bananas and chocolate complemented each other so well that I don't think I could ever eat plain banana cake anymore LOL. I also loved the texture the nut and sugar crust gave the cake...YUM!! I found the sweetness level to be OK and not overly sweet as some of the ABC bloggers have complained. I think if the chocolate used was 70-85%, the amount of sugar stated in the recipe would be just right. For chocolate in the lower percentages, think that it would be good to lessen the sugar by about 1/4 to 1/2 cup.
But regardless of the minor tweaking needed, this is an excellent banana cake that I'll be baking again and again!!
Just served this to a few guests and they went back for seconds! They loved the crunchy texture of the cake and one guest, who doesn't even like nuts, enjoyed this as well!
Hi, Your cake looks lovely and moist! This is indeed a keeper recipe. Look forward to next month's bake!
ReplyDeleteHappy New Year!!
Your cake turned out great, Janis. Great crumb too! I'm glad you and your guests enjoyed this cake :o)
ReplyDeleteThanks kitchen flavours and Hanaa! This is definitely a great recipe to start the ABC of 2012. Looking forward to baking the succeeding recipes...I know they'll all be delicious!
ReplyDeleteJanis!
ReplyDeleteHello new friend. Your pictures and cake are beautiful. The nuts made a really nice coating..boy I wish I could use nuts. I look forward to seeing more therapeutic adventures!
Janis, thanks for visiting! I love your step by step pics, so helpful! The crust -and the cake of course- look great, all crunchy.
ReplyDeleteSomehow I missed the whole non-stick = lower oven thing. I'm using a fan-assisted oven, of which they always say you have to lower about 20Centigrade... would that mean I'd go 40 degrees lower when using non stick? Hmmm scary!
Hi Baking Soda! Thanks for stopping by as well!!
ReplyDeleteLowering the temperature by 25 F is recommended really for dark/black non-stick pans but I still noticed that with my light one, the edges brown too quickly even before the middle part gets baked. The baking time is still pretty close from the original temp....only added about 9 minutes.
I think with your oven you don't have to lower the temperature anymore since you are already doing that because of the nature of your oven. And be careful with the temps! Centigrade is different Fahrenheit, centigrade being almost double that of fahrenheit. So if you lower your oven by 20 C you are practically lowering it by close to 40 F :) So I would go any lower than that!
Sorry I meant that I would NOT go any lower than that :)
ReplyDelete